Go go gadget pouch

Saturday, 29 October 2011

Another fabric project today, using the Timeless Portrait fabric from Stampin' Up!

My BlackBerry case was getting a little battered, so I decided to make myself a new one.

The longest and most difficult part was deciding which of the five ranges of Stampin' Up! fabric to use!

I settled on Timeless Portrait and to keep things simple I did a bit of quilting in purple thread and a random zigzag stitch.


I feel another tutorial coming on! The case is lined with a plain black fabric and I used some batting in the middle to give it a bit of padding (I am always dropping my phone).


Hopefully you cansee the stitching. And a pueple button!

I'm going to make a confession now and admit that this one was too small for my BlackBerry. I am not very good at measuring accurately! But no fear, I will add it to our next craft stall and hopefully sell it as an iPod pouch.

Also, I REALLY want a decent sewing machine so am trying to save some pennies. Please noone show me pretty fabrics or cute buttons or my money box will be empty again!

Read more...

Oh Christmas tree, oh Christmas tree ...

Friday, 28 October 2011

I never remember the next line to that song!

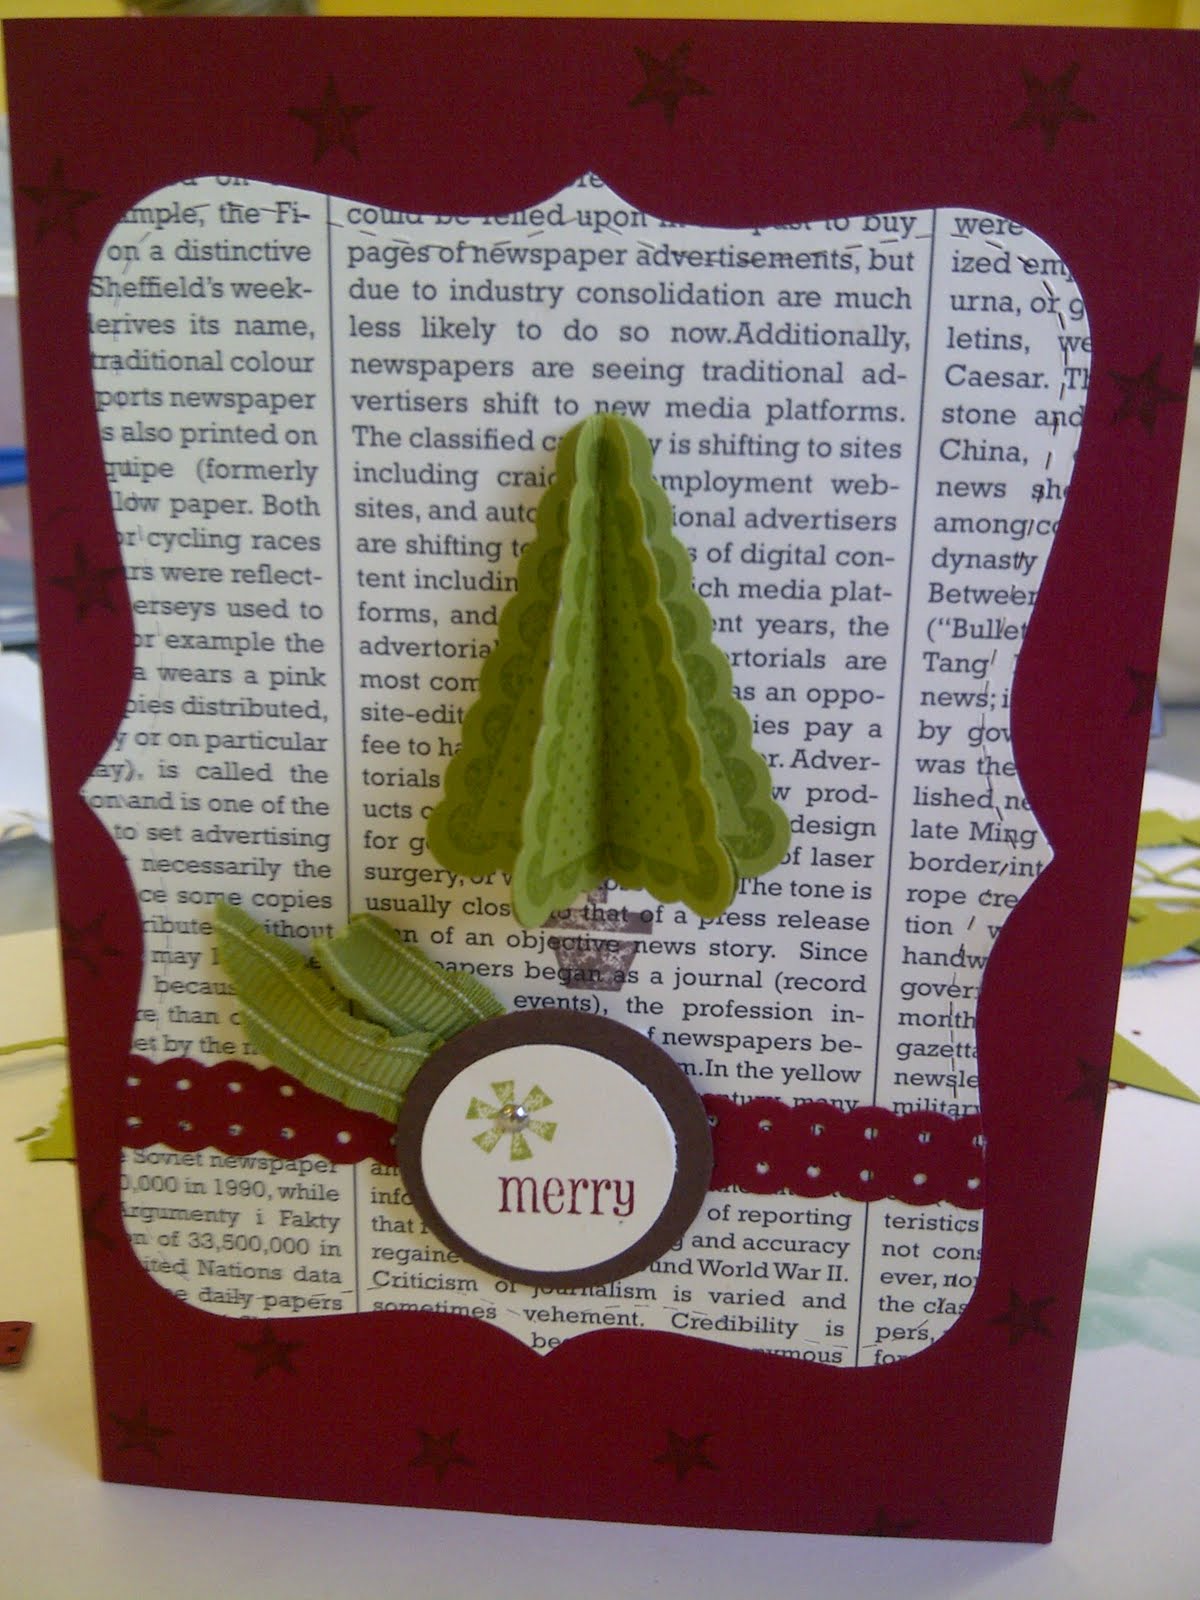
Anyway, some 3D Christmas tree cards for you today.

First up, this one was made at Julie's training a few weeks back.


We used the Penannt Parade stamp set and matching Petite Pennants punch to make the tree. The newspaper background is from the First Edition DSP.


The new Dotted Scallop Ribbon Border Punch and Ruffled Ribbon also feature.

And I made some similar ones using the Holly Berry DSP.


Please note the GORGEOUS Cherry Cobbler Seam Binding Ribbon and the glitter on some of the papers in this range.


I have managed to make most of my Christmas cards so far this year, but am still a bit short on gifts!

Read more...

Presents

Thursday, 27 October 2011

I have managed to make a couple of gifts for my loved ones recently.

First up, a cushion for my dad and step mum for their new home.


Cross stitch design on evenweave, made into an envelope cushion. I did rather well actually, even pressing the seams correctly!

And I had a visit to the Candle Factory in Burwardsley and mde candles for Helen and Hayley.


Such good fun to dip them in wax and twist them together. Had to have one for myself too!

I've managed to be very busy with my crafting recently, and have blog posts lined up almost every day, so please come back!

Read more...

Creating art with the Embroiderers Guild

Wednesday, 26 October 2011

Last Saturday I attended an all-day workshop with the Embroiderers Guild in Headingley.

The original plan was to make a little book, but I ended up creating a work of art (I use the phrase loosely).


I love peacocks, so I had taken along some feathers and a load of matching threads, wools, buttons and beads.


There was a lot of Bondaweb and some tea staining involved to build up layers on the calico and create all sorts of textures.

It was a great day and I really enjoyed letting my creativity out with no particular purpose or reason.

Read more...

Tea and bunting

Tuesday, 25 October 2011

Tea and bunting - two things that go together perfectly, so today I have two projects to share.

First up, my very own, hand-painted teacup!


I painted it at a Buns & Roses workshop earlier this month, and we just got them back from being fired and glazed.


I've not used it yet - too scared of dropping it!

And to go with it, a bunting card from our team training.


Lovely bunting with the Petite Pennants Punch and the Just Add Cake DSP. The background is given added texture with the Square Lattice embossing folder.

Best get kettle on!

Read more...

Stampin' Up! fabric boxes

Monday, 24 October 2011

Another idea for your new Stampin' Up! fabric today.

These little boxes are super easy to make and are great gifts (so if you're expecting a present off me this Christmas look away now!).

Basically, you cut two hexagons of fabric, sandwich a hexagon of pelmet Vilene in the middle, fold up the corners, et voila!


Heres a Timeless Portrait one. It works great as a little sewing basket on my desk.


And this is the Candy Cane Christmas fabric. A few of these on the coffee table filled with choccies will be just right!

I may sort out a tutorial for these soon!

Read more...

Diamond wedding anniversary card

Sunday, 23 October 2011

Yes, you read that right, my nanna and grandad have been married for 60 years! Amazing!

They had a big party with all their friends and family last night, so I'm back in Cheshire for a few days to join in the fun.

Here is the card I made them ...


I just had to use the retired Springtime Vintage DSP as the rose is so pretty. I also made the most of my new Scallop Square Die and the Big Shot, with the Timeless Type Alphabet Dies for the numbers.

I'm pleased with the postage stamp look.


Who would have thought a bit of decoupage could look so classy?! (I've become obsessed with Create and Craft TV recently, so usually see some hideous layering effects!).


And a little decoration inside too.

It's great to be back with my family - curry with my dad today and shopping with mum tomorrow!

Read more...

Beau Chateau accessories

Thursday, 20 October 2011

The Beau Chateau Stampin' Up! fabric is my favourite. Ok, ok; one of my favourites.

It's all vintage and shabby and chic and cute and I've made several things with it already. For our team training I went all out with the accessories.

Firstly - I glammed up a pinny!


I made the basic pinny at the Knitting & Stitching Show last year, but never got round to finishing it off. Eleven months on, it is now all stitched and being worn with pride!


On the pocket I did some Big Shot flowers and a scrunched up strip to make a flower.


And some more Big Shot Fun Flowers. I edged it with the Victoria Crochet Trim and some netting.


Mummy Julie took this pic of me.


I also rustled up this bow which I stitched on to a hair clip. I made my own fabric button with cover buttons.


Here it is in situ (thanks again to Julie for taking the pic).


And finally, a brooch using the Fun Flowers die on the Big Shot.


I made two flowers of each size and added in some Seam Binding Ribbon, Narrow Grosgrain Ribbon and Victoria Crochet Trim.


Next on my to-do list with this fabric is a necklace.

Read more...

Japanese folded fabric Christmas tree tutorial

Wednesday, 19 October 2011

If you would like to make your very own Japanese folded fabric Christmas tree decoration I have put together a tutorial with all the instructions.

You can find it here ... Japanese folded fabric Christmas tree tutorial and there is also a permanent link in the menu bar over there >>>

Please come back and let me know how you get on! And if you have any problems just get in touch.

Happy crafting!

Read more...

Sail away

Tuesday, 18 October 2011

Ahoy! Avast! Land ho! etc etc

Today I have a sail boat card that I made at our team training.


I just love this - such a cute scene. It makes me want to float out to sea, although those waves do look a bit choppy!


We had a bit of punch art here - the best bit is the half scallop circles used as masks for the clouds, then daub on blue ink around to colour in the sky.

This is a great way to use the Petite Pennants Punch and Pennant Parade stamp set - they are so versatile.

So, who's going to singing that Enya song all day now?!

Read more...

Stampin' Up! training with Julie's Jems - Fabric Christmas tree

Sunday, 16 October 2011

Yesterday it was my SU mummy's all-day training session, so I spent a fantastic few hours getting my craft on with some great friends.

Julie had asked me to do a section using the new Stampin' Up! fabric so I got to share my love of sewing and show some projects that I have been making recently.

The one that got the most "oooohs" and "ahhhs" was this fabric Christmas tree made using a Japanese folded patchwork technique.


I was shown how to make this by some of my good friends at the WI, and I knew the Deck The Halls fabric would be just perfect.


It's nowhere near as complex to make as it looks - it boils down to ten fabric triangles folded like origami then stitched together.


Finish with some buttons, a pot and a loop of ribbon and it's ready to hang on the wall!


By popular demand, I will be putting together a tutorial on how to make this in the next few days, so watch this space!

Finally, here is the yummy cupcake I had after our lunch!

Read more...

100 quilted hexagons

Friday, 14 October 2011

I have now made 100 of the quilted hexagons Japanese folded patchwork style.


It doesn't look that many, but they are piled up a bit as I just threw them out of the bag!

The latest calculation suggests I will need 250 to 300 altogether, so about a third of the way through now! I've not properly figured out how wide and long it needs to be, so the total may keep changing!

Here are some of my favourites so far ...


These use some of the new Stampin' Up! fabric.


Some bright colours.


I particularly like this birdie.


And some with flowers.

I think it's time to start sewing them together. I might have the quilt finished by next Christmas!

Read more...

  © Blogger template Brownium by Ourblogtemplates.com 2009

Back to TOP