Showing posts with label Pearls. Show all posts

A 70th birthday card

Tuesday, 13 December 2011

This week, Helena, the Chairman of the West Yorkshire Federation of Women's Institutes, celebrated her 70th birthday.

I was tasked with making the card so I decided to do one similar to my nanna and grandad's 60th wedding anniversary one.


This design just works for me and it's nice and easy to achieve.


I decorated with Pearls to add some glamour.

Here's to many happy returns for Helena!

Read more...

A very special day

Sunday, 11 September 2011

Yesterday my dad got married at Runcorn Town Hall.

I managed to make them a card before I came back down, using some of the retiring DSP - Play Date, punches and my Big Shot.


I love the Cherry Cobbler red so that was my card blank and the big hearts, with the little ones also in the heart printed paper. I ran the Very Vanilla matting through the Perfect Polka Dots Embossing Folder and finished off with some Pearls on the little hearts.


We had a wonderful day. Jacki looked beautiful and they were so happy.

I had to do two readings at the ceremony, which I think went well (the registrar offered me a job so I could have a new career in public speaking!).


We had drinks at the pub then went for a curry. Then more drinks. I bought us some nice bubbly (Moet 1998 I think it was!) and there were plenty of stories and sillyness.


This is the beautiful rose bracelet the florist made for me.


And here's dad and Jacki cutting the cake.

Now the fun is over and I'm heading back to Leeds for a week of WI and work.

Read more...

A couple of quickies

Saturday, 25 June 2011

I finally managed to find a little time to make some cards the other day, so I did some very quick and easy ones.


Here I've used the Boho Blossoms Punch to make the small flowers in different colours, and added a tiny pearl centre. The sentiment is from the SAB set So Happy For You.


And this features a stamp from the hostess set Cute By The Inch and hearts made from the Brights DSP stack with the Small Hearts Punch.

Quick but effective! I'm at a craft fair in Chapel Allerton today so hoping I sell a few cards!

Read more...

Where has my craft time gone?

Tuesday, 21 June 2011

I seem to have lost a lot of my crafting time recently. Well, I've had some but I don't get round to doing big projects - just bits and pieces for my embroidery certificate or helping other people!

So that's my reason for still not having many photos to share, but once again I'm going to take the opportunity to clear out a few that have been lingering in my "to share" folder for a while. They're not particularly exciting, but I made them, and that's what this blog is all about!


Remember the gift bags Chris showed us at our Julie's Jems training a while back? Here's one in pink.


And here's another mander book. I made this one for Tessa just after I moved in to her lovely house. I used the music pattern from the Newsprint DSP as she's a jazz singer.


Finally, an album I picked up from TK Maxx, with frames in the front for adding some pics to the cover. I just used the Springtime Vintage DSP and some lacey bits and ribbon and Pearls to decorate them.

Actually, I did make some new cards last night, but my BlackBerry broke so I can't take any pics!

My new one should be on its way so hopefully I will be back to instant email and Twitter/Facebook access soon and be able to feel like I'm still in the 21st century!

Read more...

Beautiful Wings Embosslit card for my grandma

Saturday, 7 May 2011

Before I went home I needed to make a card for my grandma's 80th birthday. She likes pretty things with roses and butterflies and is always in her garden (her strawberries are to die for!) so I went with lots of pink and made the most of the Big Shot and accessories.


Here is what I came up with. I made a blue one to go in my craft fair box as well.

I made the most of the beautiful Springtime Vintage DSP, using a bit for the background and then another cut with the Top Note die on my Big Shot. I trimmed this one down along the perforations and cut another in plain cardstock for the frame.


The butterflies were cut with the Beautiful Wings Embosslit, which I simply adore. I also added some decoration using the Swirls Scribbles die. A few Pearls finished off the butterfly.


The sentiment is from Sincere Salutations, which works just perfectly.

My grandma loved it! I also gave her some yummy smellies made by my friend Sam over at Corsets, Crafts and Cupcakes.

Tomorrow I'll have some Christening pieces to share, with stitching as well as card making, so please come back!

Read more...

Just Believe gala

Wednesday, 27 April 2011

Today's offering includes three cards made using the Just Believe stamp set. I've had these pics stored away for ages and never got round to sharing.


These two were made at my SU mummy Julie's class a while back. We used the Woodland Walk DSP, several punches, as well as the yummy Pearls.


And here's one I made for those reminder tins. I love this as I think it's rather 70s and reminds me of funky wallpaper. The main image was stamped on to Watercolour Paper and then lightly sprayed with water to make it bleed a little.

Tonight is the weekly get-together with Hayley and Helen, and this time we're at mine for a pyjama party. Scary films and popcorn at the ready!

Read more...

Friday again!

Friday, 18 March 2011

Seriously, where are all the days going?! It has been non-stop this week, and looks the same next week, and the one after, and the one after ...

Anywho, last night was our WI meeting and was much fun as always. I did some crafting while I was there, obviously, and tomorrow I'm assisting Hayley on her fascinator workshop at the loval WI federation office.

So by Sunday I'll be shattered again!

Here's my quick card for today, and then I'm off to do some work and prepare myself for more madness!


This is one I made for my mum. She sends me a list of what cards she needs and I make her a big batch to keep her going.

This uses the matching Growing Green stamp set and Woodland Walk DSP. I went for the neutral browns to keep it quite classy, with a hint of Champagne Shimmer Paint and a Pearl to finish it off.

Oh, one more thing; I'm having a workshop on Thursday, April 14th here in Armley to celebrate the new Mini Catalogue. Details over there >>> or email/call me!

Read more...

Stampin' Up! regional training

Saturday, 5 March 2011

Today I am off for a whole day of crafting fun with my good friends at the Stampin' Up! regional training tour.

We will be seeing and playing with some new products. And talking and laughing lots too! I am so excited, we always have such a great time together.

Of course, we always do swaps. We each make a stack of one design of card and swap with each other. This gives us lots of inspiration - they are a really talented bunch of ladies.

So here is mine ...


I have used the Always Elegant set, which is very pretty and particularly good for weddings.


There are slight variations as I tried out different combos of colours, DSP and ribbon. Some of the DSP is the coordinating Elegant Soiree. And my fave ribbon is the Striped Grosgrain.

As soon as I've recovered from all the excitement I'll be back to tell you all about it!

Read more...

Last SAB project - Bliss

Monday, 28 February 2011

Well, today is the final day of the amazing Sale-A-Bration promotion. I hope you have enjoyed the free stamp sets. I will certainly miss them, especially Bliss.

So today I had a final play and made a card for my friend Hayley as a wedding RSVP.


I used the scrolly stamp to create the background tone on tone in Crumb Cake. I added some Organza Ribbon, which is very classy and great for weddings.


The squares are Rose Red and I used the Rock and Roll technique on the flowers using Rose Red and Regal Rose. I finished them off with some pearls.

Stay tuned for some more exciting Stampin' Up! news tomorrow.

Read more...

Fairground scrapping

Sunday, 27 February 2011

Yesterday I had a bit of scrapping fun with an old pic of myself and a former housemate, Vanessa.


We used to live together in Stockport and would go for a long walk at the weekends. One time we went to Oulton Park and had a go on the carousel there!


So for this page I started with a white background and coloured in a paper doily by rubbing my SU ink pads over it and coating it in Shimmer Paint. This turned out fab and is a great match to the horses. I used lots of different bits, including some different ribbons, Pearls and Gold Brads.


Lots of flowers and stars, and tons of Pearls and Rhinestones!


I used the Rub Ons for the title and scrolled the paper to match the one on the horse. His name is Troy!


I also tried out some Grungeboard.


And this is the journaling! Basically, we got on our horse anbd the carousel started going REALLY slowly. After a minute the guy in charge came walking round, looked at us and said: "There's too much weight on one side"!! That was it! So we had to move to balance it out with all the kids!

Was good fun to do this page, although it took quite a while to stick everything down!

Read more...

Last few days to get FREE Stampin' Up! goodies

Wednesday, 23 February 2011

Well it's nearly the end of February and that means not only am I wiser and the days are going too quickly, but also that you don't have long left to get some FREE Stampin' Up! goodies.

Hopefully you have been inspired by the beautiful Sale-A-Bration sets this year and have enjoyed my projects. I have a couple more cards to show you with these stamps, and here's the first.


I CASEd this design from my good friend Vicky. The stems are from the Sweet Summer set. I added little punched hearts with Pearls on and "cut" the grass using the Scallop Trim Border Punch and layering Certainly Celery and Old Olive grosgrain ribbon.


Pretty cute I think!

So, you have until Feb 28th to get free Stampin' Up! products here in the UK. Just order £45 of goodies and you get to choose one free set. And if you sign up to become a demonstrator before the end of the month, as well as getting amazing goodies at a very good price and sharing the fun of creativity, you will get an EXTRA FREE stamp set of any value from the catalogue. Just drop me a line to order, sign up or find out more.

Amazing!

Read more...

I love Stampin' Up!

Friday, 28 January 2011


Just a quickie to share my love for Stampin' Up! Tomorrow mummy Jules is holding her first all-day training event and there will be around 20 of us enjoying a full day of stamping and gossip!

As with any SU! get-together, we love to exchange swaps, and Jules suggested a love theme so this is mine!


I have used the Artistic Etchings stamp set, which is yummy vintage and one of my new faves! I decided to create a little tag using the Distressing Essentials. The card was scrunched, sanded around the edges and inked up with the Tea Stain ink spot.

The big heart was stamped with the image from the Punch Potpourri hostess set and ounched out, and covered with the Champagne glitter paint. I then added some Pearls for extra bling.


I hope they don't all check their blogs tonight otherwise the surprise will be ruined!

Read more...

ILWS Sale-A-Bration Blog Hop

Sunday, 23 January 2011

Hello and welcome to my turn in the In Love With Stamping Sale-A-Bration Blog Hop!
There are four rounds altogether; I am part of number two so you may have arrived from the lovely Krafty Biker page. Links to the next blog in this loop and the start of each round are at the end of my post so do take time to look at the many wonderful creations using this year's Sale-A-Bration stamp sets from Stampin' Up!

Don't forget, these sets can only be earned until the end of February and then they are gone! You get them FREE by spending £45 or hosting a workshop with product sales of £300 or more. Just get in touch to place your order or arrange your home party.

I have two cards to share, both using the beautiful Bliss set in different ways.

On the first I have gone for the faux tile look, which I posted about a few days ago.


It is quite sraightforward but involves a bit of time and patience!


First, I created the whole tile image by stamping the beautiful motif in Crumb Cake and Basic Gray on to Very Vanilla cardstock. I used my Stamp-A-Ma-Jig to line them up correctly.


Then I cut this up into squares, distressed the edges a bit with the Cutter Kit and covered each one with Crysal Effects. This dries to a clear laquer, making them look like ceramic tiles. I left them overnight to be absolutely sure I wouldn't smudge them!


Then I stuck on to Crumb Cake cardstock to act as the grout and finished off with some Twill Tape, stamped with the bird image from the set, and a Neutrals Button tied on with Linen Thread.


And now for the second card. This was inspired by my SU grandma Monica and I used my favourite colour - purple!


I adore this card so expect to see some variations in future!

I started by attaching a piece of Rich Razzleberry Striped Grosgrain Ribbon and a piece of the stunning Lap of Luxury DSP to the card blank.

Then I cut four squares of Crumb Cake cardstock and randomly stamped the motif in Crumb Cake and Basic Gray. The squares were then sanded at the edges, crumpled and inked up using the amazing Distressing Kit, which I am loving as vintage is soooo my thing at the moment! On one square I also stamped the Bliss and bird images in Rich Razzleberry.


The flowers and butterfly from the set were stamped in Rich Razzleberry on Very Vanilla cardstock and cut out, which was nowhere near as fiddly as it sounds! I stuck them on with Dimensionals for added effect.


As you can see I used lots of pearls all over as they are just soooooo pretty!


So there you go, two very different cards using the same FREE stamp set.

The next stop on round two of the blog hop is at Rachel's page, so go see what she has come up with!

And here are the starting points of each:
Round one: Sara
Round two: Theresa
Round three: Keren
Round four: Kirsteen

Read more...

Faux tiling using Crystal Effects

Monday, 17 January 2011

Apologies for not blogging for a few days - been busy!

On Saturday we hosted a WI Mixer Winter Warmer Tea Party for the new groups around Yorkshire. It was a huge success and lots of fun, but quite tiring! I ate lots of cake and drank lots of tea!

Yesterday was spent recovering and doing very litle and now I am pleased to say I have lots of work to look forward to this week.

So a quick blog update first!


This card I created with one of my new-found loves - Stampin' Up! Crystal Effects. Remember how I covered a little heart with it and threw loads of glitter on? Well this time I have just used it to create a smooth, clear gloss finish.

I got the idea from the blog of the amazingly talented Michele Kovack. You can see her design, complete with tutorial, here.

I started by stamping the beautiful Bella Toile image and colouring it in using Stampin' Write Markers. The colours are So Saffron, Wild Wasabi and Pretty In Pink. I then chopped the image up into 1" squares and covered each one in an even layer of Crystal Effects.

I left them to dry overnight and by morning they looked like little tiles!
They were then mounted on to card, to give the effect of grout, and the card was finished off with some Paper Daisies coloured in with the markers and beautiful Pearls.


It was quite a time and labour-intensive card, but well worth the effort!

Read more...

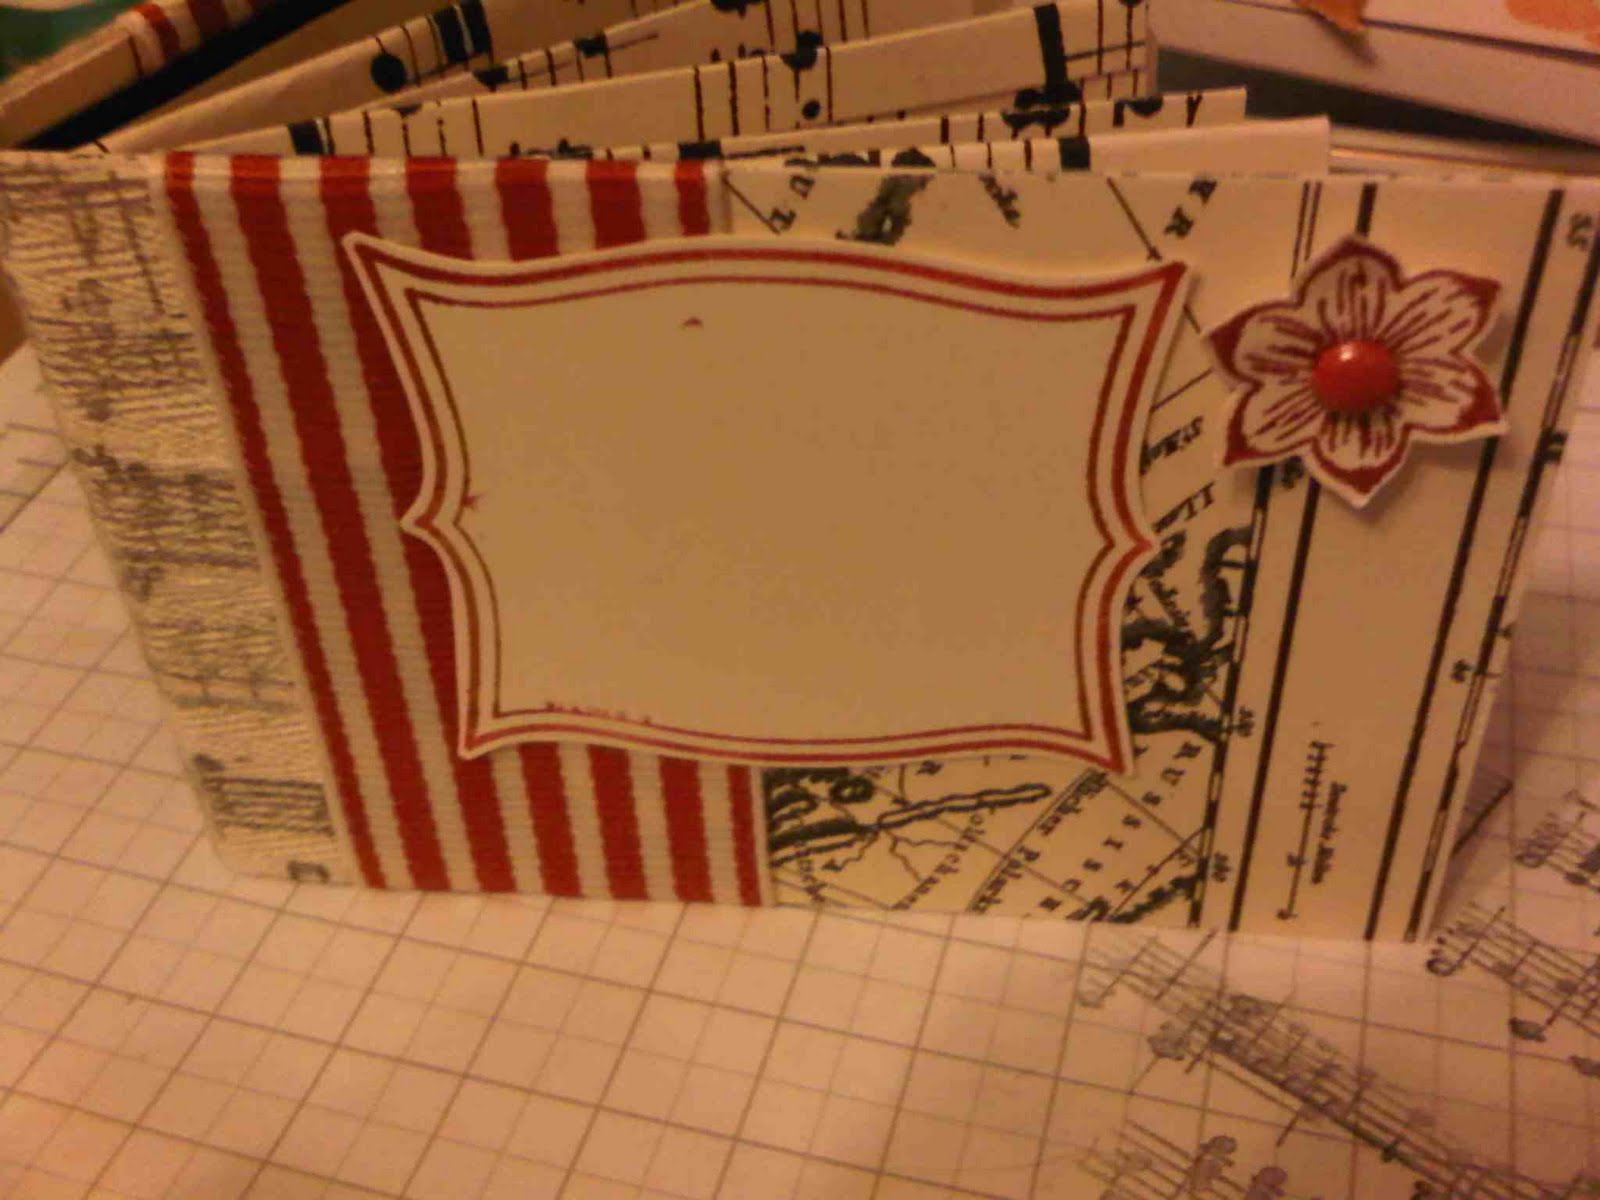
A Newsprint meander book

Tuesday, 11 January 2011

Yesterday before my SAB workshop I sat down for an awesome craft session and decided to make a meander book. I saw the idea at the blog of a fellow SU demo Peg Coombes. She made this and it was so lovely I had to give it a go.
Luckily the actual pocket pages are really easy to do with a piece of DSP, then it was the decorating and filling that took the most time!
Here is my effort, using my favourite Newsprint DSP and my newest stamp set Notably Ornate.

This is the front, and no surprise I have also used the Twill Tape stamped with the Music Notes Wheel and the beautiful Striped Grosgrain Ribbon.
Controversially, the back is decorated in portrait orientation.

I have used the pearls all over as they are just too damn pretty.

This is how it looks inside. The DSP is folded to create five little pockets.

And these are the tags. I have done it as a kind of life book for 2011, with words to inspire and motivate me. I have space for one more though so suggestions on a postcard please!
If you would like to have a go at making one go here and ask Peg nicely! Thanks again to her for making the tutorial!

Read more...

  © Blogger template Brownium by Ourblogtemplates.com 2009

Back to TOP